Week 11 - Fabric and Lighting

This week I spent time developing a reusable fabric material, I wanted the material to appear somewhat coarse as that felt more appropriate for the rest of the environment. I opted to keep the input albedo simple and find ways in the material graph of giving it the textured look I wanted using the normal and roughness. This meant I could reasonably drop any albedo in and it would work.
Close up of a rug.
Hanging drapes in the entryway,
Other cloth in the scene.

 Hanging elements simply looked wrong if they were completely static so I knew I needed to emulate a subtle breeze. The solution I settled on was to use a panning gradient within the fabric material in the world position offset. Scaler parameters would let me control how fast and strong the wind was blowing and I used vertex colours to mask out the areas I didn't want to blow in the wind. 

The redder the vertex colour the more that area is affected by the world position offset.

Wind simulation nodes in the material graph,

I also reassessed my lighting set-up this week, while I initially choose a night time setting to provide some contrast to the interior lights. the result was a more dingy atmosphere than I wanted. I pivoted to a day-time setting and experimented more with lighting it in this setting. I am overall much happier with this direction and will look to push in going forward.


Week 10 - Fire

While I did continued to populate and texture my environment this week much of my effort went into developing the fire effect for the fireplace. Unlike the candle flame I made last week, this fire effect required a full particle system. The particle system would in the end feature 5 emitters within Cascade for the body of the flames, the higher bursts of flames, the embers, the smoke and the heat haze.

The fire particle system in the scene.
The fire particle systems 5 emitters within Cascade.
I knew I wanted to avoid the effect looking to static so targeted animating the material used for the particles. I developed a sprite sheet for both the fire and smoke effects that would achieve this and hopefully add in some of the finer detail to help sell the effect. I initially considered hand drawing or rotoscoping the animation but I am not an animator so the results would have likely been sub-optimal. I instead decided to simulate fire and smoke within a 3D suit and render out the results. I choose Blenders Mantaflow system for this as I had previous experience creating simulations within in Blender and was confident in the results. However, Mantaflow requires simulation data to be fully baked out before it can be viewed, there was no way to avoid this slowing progress. But as the baking did not use significant amount of my CPU I could work on other things while Mantaflow baked. Once I had settled on results I was happy with I render out each frame and arranged them into a 6 by 6 sprite sheet to use within Unreal Engine 4. 6 by 6 at 1024 resolution was a happy medium between reasonable texture size, smooth animation and maintaining as much detail in each frame as possible. I found that the simulations did not render correctly without a background behind them so I used a uniform colour that I then cut out afterwards.

Smoke sprite sheet.
Fire sprite sheet.

The material used for the haze uses a noise texture initially for the water material plugged into the refraction output to create varying levels of refraction similar to the distortion you see from heat. I then used a radial gradient to give the material a soft edge. The alpha of the particle colour is used for the density of the radial gradient allowing me to slowly fade out the particle so its death is not noticeable. Cascade appears to handle refractions differently to the rest of Unreal Engine 4 as the refractions were initially non-existent on the particles.

Shader graph for the haze material.

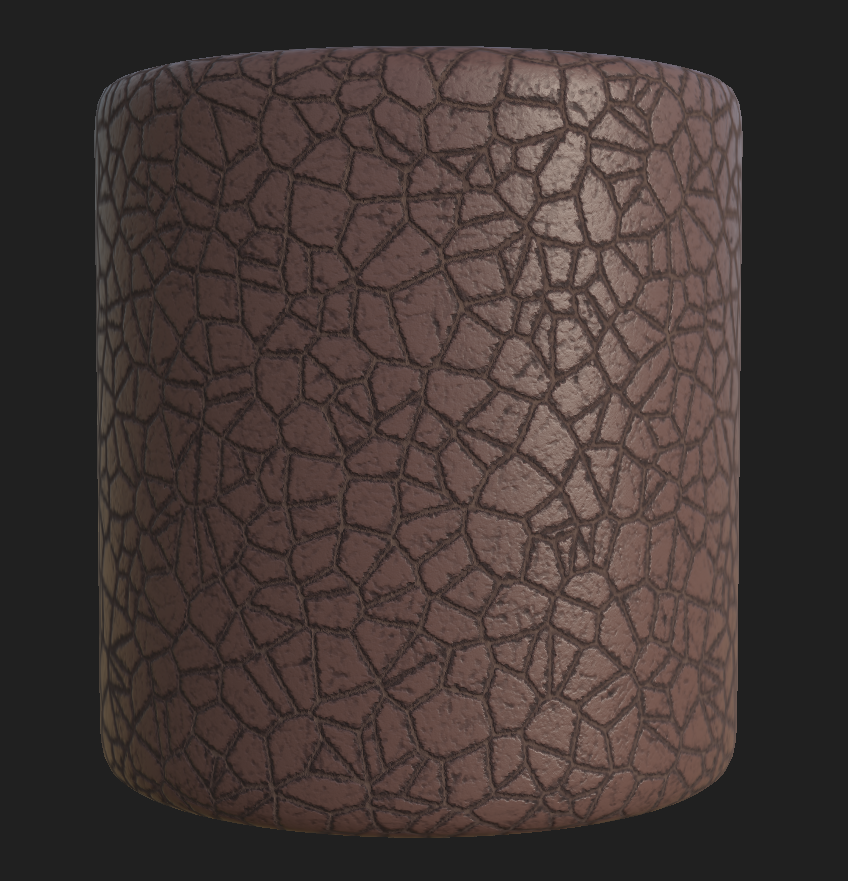
While the fire particle system took up the bulk of my time this week I did develop some assets and textures as well including the leather and wood textures used for the sofas. The leather material was a new material authored within Substance Designer similar to previous materials, I tried to add patches to the albedo and roughness to indicate where the leather had been worn away from use.

Softa assets textured, the emblem on the back belongs to the "Research Commission" the organisation the player works for in Monster Hunter: World.
Leather material within Substance Designer.

The hanging lanterns will hopefully give me more options for lighting the scene, the metal is an instance of the metal material I created earlier while the glass is an instance of the heat haze material. 


To avoid having to line up each piece of the balcony railings individually and to make them easier to update I created a blueprint to automate the process.


I replaced the texture used for the floor with a more advanced set designed to allow for more fine-tuning in engine. This approach also allows for the resolution to stand up to scrutiny better, while the shader is more intensive as a result I feel the amount of screen real estate the floor occupies justifies this.

Floor shader graph.
New material left, original material right.
Close up shot, both have a texture resolution of 1024 by 1024.


Week 9 - Zero to One Textures

While last week I predominantly worked on tileable textures and trim sheets this week my work was mainly on zero to one textures. At the start of the week, I began texturing the Blossomajesty Insect Glaive. Being able to cross-reference my work with the real in-game assets helped guide me however I did run in trouble figuring out how to build some of the detail, in particular the molten blade.

Screenshot of original glaive within Monster Hunter: World.
Screenshot of recreation within Unreal Engine 4.


Another asset I textured this week was the Gammoth head-crest for above the fireplace, Gammoth only appears in older 3DS games so I could not gather a lot about the finner details from the in-game assets so instead, I turned to reference of tusks and skulls. Situated above an open fire there would doubtless be a build-up of smoke and soot so I blackened the underside of the head-crest as well. 

Gammoth head-crest textured in the scene.

I also developed textures for a couple of more minor assets as well including the horns and table. Like the other assets this week, these are also simple zero to one textures created in Substance Painter. 

Textured Horn.
Texture table asset.

Finally, I created a small flame to be used for the multiple candles scattered throughout the scene. Studying similar effects in games I found most opted for an animated texture that always faced the player instead of a particle effect. I initially felt this would be a simple thing to execute but making the flame always face the player proved surprisingly laborious. Unreal Engine 4 features a component called material billboard what takes a material and loads it into the scene always facing the player, this seems perfect on paper but was ultimately useless to me. The problem with the material billboard was that it rotated the material in all axis so that it faced straight on against the camera meaning if the camera was above or below the flame it would lay on its side instead of standing up. I needed a solution that would allow me to rotate the material on only a single axis and there wasn't a way to do this with the material billboard. Searching online turned up Epic games writing on a way to achieve a similar effect within the material editor. However, it was written for an older version of UE4 and used a custom expression node and while I was able to get the material partially working I could not properly control the way the material rotated. The documentation was also light on explanation for what nodes within the material were doing making it hard to reverse engineer and identify the problems. Finally, I applied the material to a plane within an actor and used the even graph to rotated the static mesh based on the camera. After some troubleshooting, this worked and could be reused. As this solution involves updating the rotation every tick I feel the solution is suboptimal though.

Event Graph for the small candle flame.
The candle flame in use on the fan.


Week 8 - Refining Textures

This week was mostly spent polishing my Unreal Engine 4 materials to achieve as high a level of fidelity as possible. During the week I researched further into water shaders to help find direction for my water material. I mostly focused on the opacity and reflection elements, bringing in a depth fade to allow for a varying level of translucency depending on depth. This allowed the shoreline to be translucent while the deep centre of the river was still opaque.


I want to aim with this to use trim sheets and reusable materials, I've tried to develop broad versatile materials where possible. However, this week I tried to specialize my materials a bit more, making materials specifically focused around wood and metal. These are still versatile but I hope offer a better opportunity for high-quality visuals due to the tailored nature of them.

Metal material instanced as both bronze and steel.
The same metal material being reused on different assets.
Equipment box and the instance of the wood material used for it.
One of the larger assets I textured using these materials was the fan in the centre of the room. This was my main test piece for the metal material while developing it. However, the asset does still use a zero to one texture for the blades and candles. Having the asset partially trim sheeted does free up space in the zero to one texture allowing me to get as much out of it as possible though. 

Fan, in UE4 from above.
Fan, in UE4 from below demonstrating the subsurface scattering on the fan blades.

 While texturing has taken up most of my time this week I have also been sculpting a rendition of the "Blossomajesty" Insect glaive from Monster Hunter: World. Due to the nature of this asset, I do not think it can be textured with trim sheets, at least not at my current skill level. This will instead be textured using a standard zero to one texture within Substance Painter next week. Unlike a number of my high-poly sculpts this module I did the Blossomajesty retopology by hand, the modular nature and shape of the asset made this a relatively straightforward task and allowed me to optimize the geometry where I needed it.

Blossomajesty low-poly mesh with high-poly bake within Substance Painter.


Week 7 - Decorations

I spent this week creating some of the larger scale meshes I will use to decorate the environment with the intent to texture them next week. I used a mixture of sculpting, modelling and photogrammetry to generate these assets. I also experimented with using alternative software such as MeshLab and Instant Mesh to streamline my retopology process with these assets. Finally I created a simple spline tool to allow for me to procedurally generate chains and ropes within Unreal engine 4

Procedural rope and chain in UE4.


Cacpcom license a line of small statues of monsters from the Monster Hunter series, I decided to capture these statues to generate base organic forms of complex monster designs I could then sculpt into to the mesh to achieve a high level of visual fidelity. In previous modules where I have used photogrammetry, I have simply created an exact copy of the subject matter, with this I want to try and transform the output into something more cohesive within a game environment and repurpose the subject.


Traditionally I have retopologized high-poly meshes manually in Maya using the quad-draw tool. However, this is a slow way of handling retopology especially with respect to more complex assets forms. With this in mind, I decided to investigate other software suits and test their effectiveness in my pipeline. The first tool I experimented with was MeshLab(http://www.meshlab.net/), an open-source mesh processing software, the suite of tools is rather robust and impressively effective. However, I found MeshLab to be very unstable and documentation was lacklustre leaving me to wonder through forums. For example, when exporting a mesh as a .obj certain setting, what can be switched on by default, will simply cause the entire program to crash. Certain functions can also cause MeshLab to crash if performed when the asset is visible. Once you learn about these you can navigate around them but they represent the rough nature of the software. Despite this, the results are impressive, the software's Quadric Edge Collapse, does a great job of preserving the assets form and gives me a good amount of control for an automated tool and handles incredibly high poly geometry with seeming ease. Unfortunately, it does triangulate the mesh and converting it back to quads is not easy to do. This makes the asset harder in some ways to work with afterwards if I need to and creating UV seams slower.

Screenshot of original(right) and retopologized (left) asset, as well as face and vertices counts (underneath).

Instant Meshes(https://github.com/wjakob/instant-meshes) is a program from a SIGGRAPH paper on automatic retopology broadly it works similarly to Zremeasher within Zbrush and like Zremesher produces primarily quadded geometry. The process is divided up into 3 different stages: Orientation field generation, position field generation and mesh generation. Throughout each step, there are a number of tools to help improve the results but I found that the results from using these were mixed. While a quaded output was valuable I struggled to maintain a good form while using it and it doesn't hold many advantages over Zremesher especially when combined with the other tools you can use within in Zbrush to touch up the results.

Retopologized asset withing Instant Meshes.


Week 6 - Textures

This week I've dedicated to creating materials to use when texturing my assets. My goal with these textures is to try and make them as reusable as possible so I can focus my time. I aim to texture many of my assets with trim sheets and tillable textures to allow for more effective iteration off them and to save on memory. 

Bare Wood material.
Bark material.
Bone material.
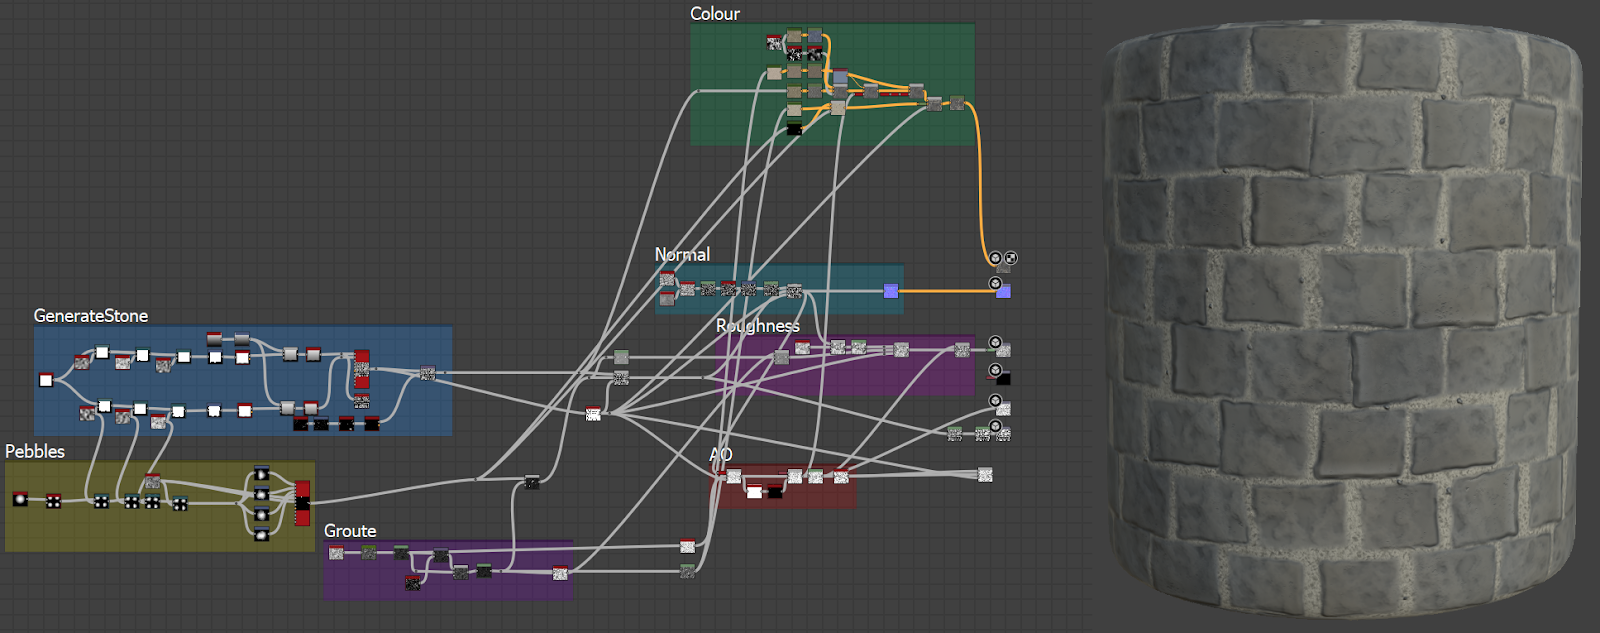
Stone brick material.
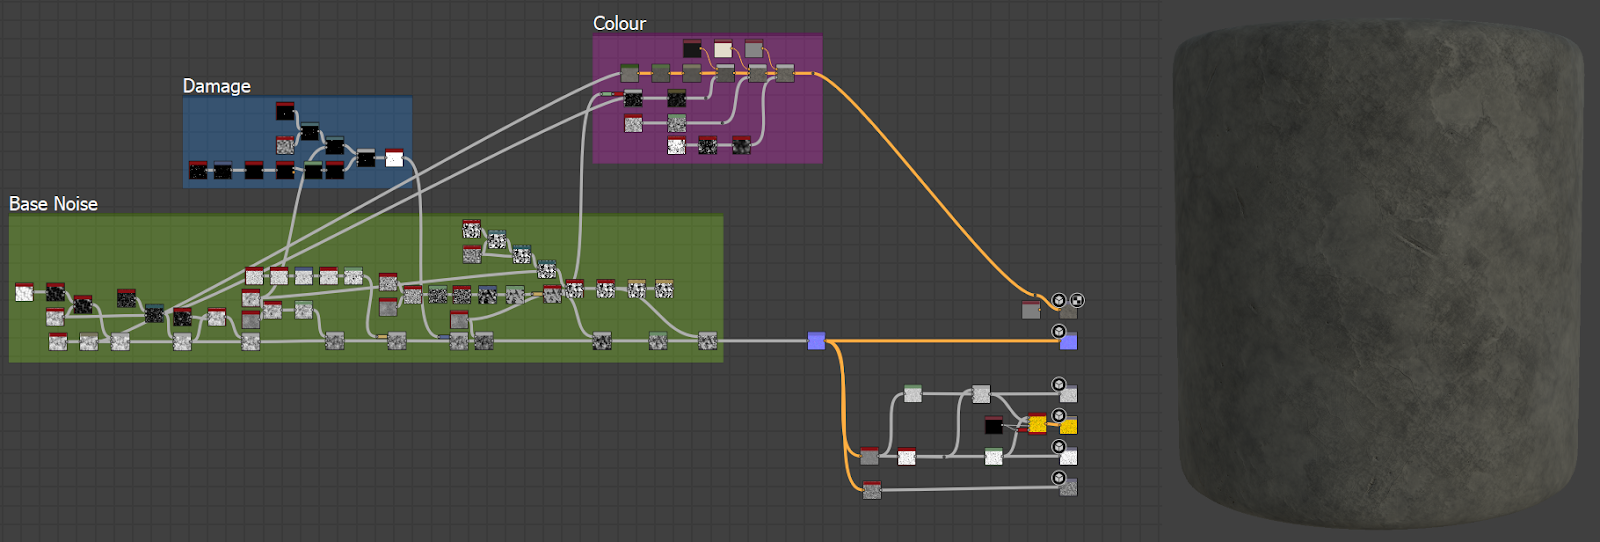
Rock material.

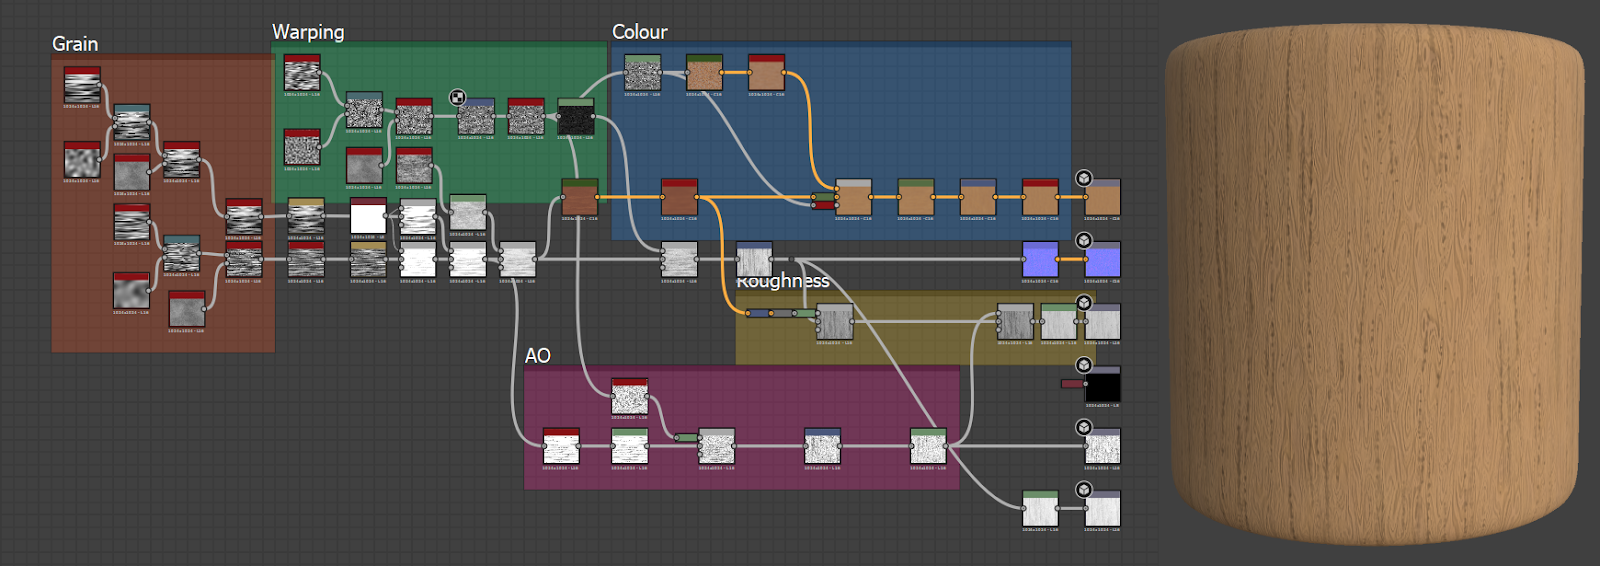
My primary tool for generating materials has been Substance Designer, I've had previous experience with Designer but that has mostly been for stylized work so this has pushed me. I want these materials to be very tileable so I've had to walk a fine line between high detail and keep the texture generic enough to not look obvious when tiled. due to the difference between how these materials look within Designers Iray render compared to Unreal 4s rendered I have had to make adjustments to them once I hate them within Unreal 4.

A wood material using layered tileable textures(left) compared to a zero to one wood material(right). Both materials texture sets are the same resolution but the tiled holds up much better under scrutiny.


To compliment my Substance Designer work I have begun developing more complex materials within Unreal 4 that layer tiled textures on top of each other to achieve better results, this does have an impact on performance compared to a standard zero to one texture set. However, I feel the visual quality enhancement are worth the trade-off as it allows me to achieve a much higher resolution than I otherwise could. Though to help alleviate some of the performance cost I have tried to build these materials for trim sheets so they can service multiple assets with just one draw call. This approach will not be appropriate for every asset so I will still be using zero to one texture for assets like the weapon stand.

Week 5 - Interior Additions

This week I began thinking more in-depth about what I want to achieve with the lighting and how I am going to do it. One of the biggest problems I have had with lighting it parts of the environment being almost completely dark so I began looking at ways to address this. First I tried using global illumination to brighten the scene as a whole, I am reasonably sure that global illumination is a vital part of how Monster Hunter: Worlds environments are lit. It was effective but introduced new problems, predominantly it left the environment feeling washed out. Another method I attempted was to have an overhead light that was cast light across the whole scene, this overpowered the environment and drowned out all other light sources no matter how I tried to balance it.

screenshots from various iterations on the lighting.
While there is still work to be done I feel the lighting is moving in the right direction, I've used the exposure settings inside the post-processing volume to brighten the scene up. I have also tried to draw a clear divide between the inside and the outside with interior lights leaning into warm yellows and oranges and exterior lights using colder blues and whites, in the same vein I also changed the skylight to imply a night time setting. I am unsure if I want to brighten the scene any further so I plan to seek out second opinions on the current lighting. I believe my next steps in the meantime will be to work on the colour balance and to experiment with LUT tables.

Current lighting set-up

Week 4 - Inital Asset Creation Continued

Over the course of this week I have continued to work on asset creation, texturing the walls I started last week. The building is assembled from several different sizes of wall assets to allow for a more interesting layout. To keep the scene optimized I want to be economic with my texture use where possible during this project, in that vein, all of my wall assets are fully textured with just 3 materials instances. To achieve this without sacrificing texture fidelity the UV shells were stacked on top of each other in the UV map. However, this does mean that each element is textured identically leading to some repetition.  I think this could be crunched down further but I am concerned about the walls becoming overly repetitious as a result. 

Various wall assets rendered in the engine.
Alongside the walls assets, I also generated a couple of assets for inside the building these assets were the hammock, steps and bookcase. These were assets I knew I wanted in the scene but I did not estimate to be too time-consuming so they fitted well into my schedule for this week. Just like with the walls the steps UV shells were stacked on top of each other, due to the shape of the shells this left about half the UV map empty. I looked at a couple of options and elected to unwrap the metal elements of the hammock onto the second half of the UV map, again to minimize texture usage. The hammocks cloth takes advantage of Unreal Engine 4s cloth simulation. This did require the cloth be assigned as a separate element to the rest of the mesh and that the asset be imported as a "Skeletal Mesh" instead of the "Static Mesh" that all my assets had been up till now. For texturing the hammock I also created a rope material within Substance Designer for the cord, I intend to use this material later on as well.

 Graph and render of the rope material in Substance Designer.
 Satish  Shewhorak raised concerns with the roof of my building, felling it inappropriate for the style of building and positing it gave off a naval vibe. After talking with him about it during our Tuesday session I came to agree with him and looked into an alternative roof. I settled on extending the existing roof up to a point and filling the new cavity with a giant skull of a monster as a type of trophy. This feels thematically consistent and more visually interesting, though it does require alterations be made to my schedule to accommodate the new work. my original roof piece was designed to allow in as much light as possible to help keep the environment bright what now won't be possible. I've considered using another element from the game to help alleviate this, "scoutflies". Scoutflies mechanically serve as a guide for players in-game and are thematically a breed of insect similar in nature to fireflies. Chiefly they let off a noteworthy amount of light and are kept by players. My plan is to experiment with using the skull as a host for a scoutfly nest to have coloured light emanating from above the room. This could prove better lighting as it'll allow me to mix more colours into the environment.

Original roof design.
New roof design.